Spray Can Primer for Cars is an aerosol-based primer used before painting to help paint adhere better, prevent rust, and smooth surface imperfections.
What Is a Spray Can Primer?
A spray can primer is an aerosol-based automotive coating applied before painting to create a strong bond between paint and the vehicle’s surface.
It helps paint adhere better, prevents rust and corrosion, and fills minor surface flaws for a smoother topcoat.
Purpose of Spray Primer
This automotive spray primer is commonly used on car panels, bumpers, and small touch-up areas where consistent surface quality is essential.
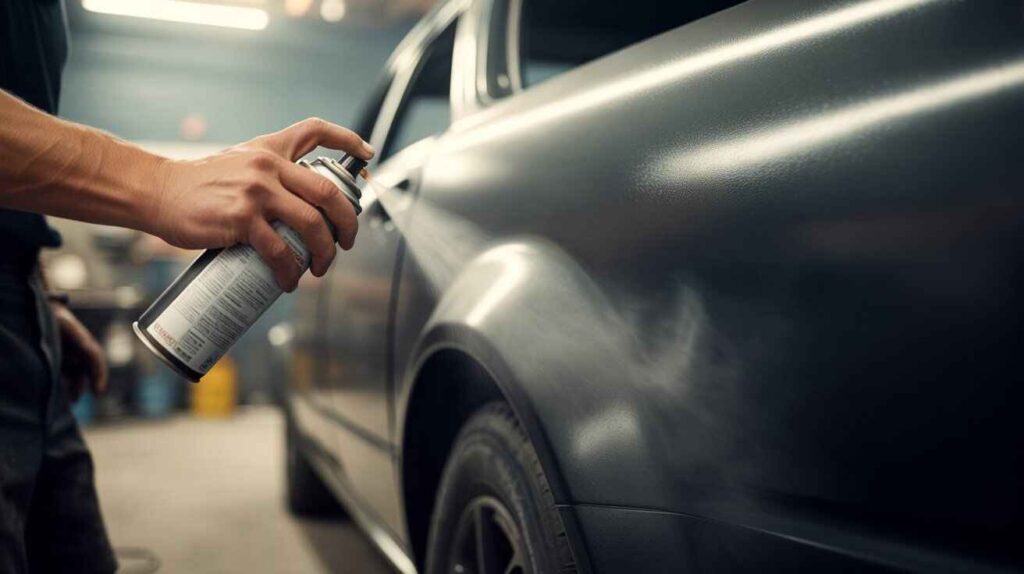
It’s a go-to choice for DIY car priming because it’s easy to use and doesn’t require a compressor or spray gun.
Why Use a Spray-Can Primer for a Car?
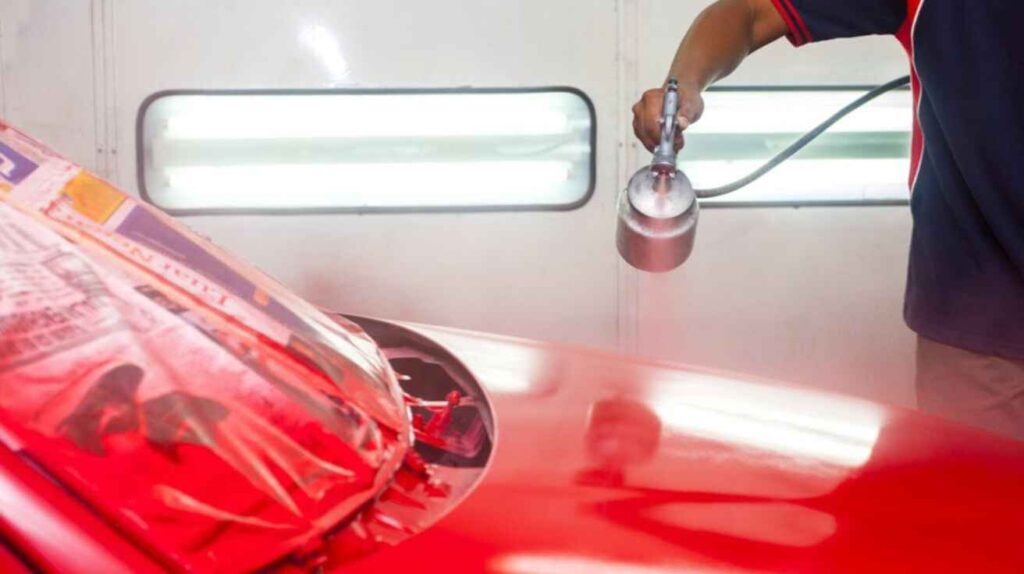
In the past, automotive primers were applied using professional spray guns. Today’s aerosol primers offer the same benefits — faster drying, better control, and no expensive equipment required.
Modern resin formulas and can-pressure technology, these products deliver professional-grade results for small projects or home refinishing.
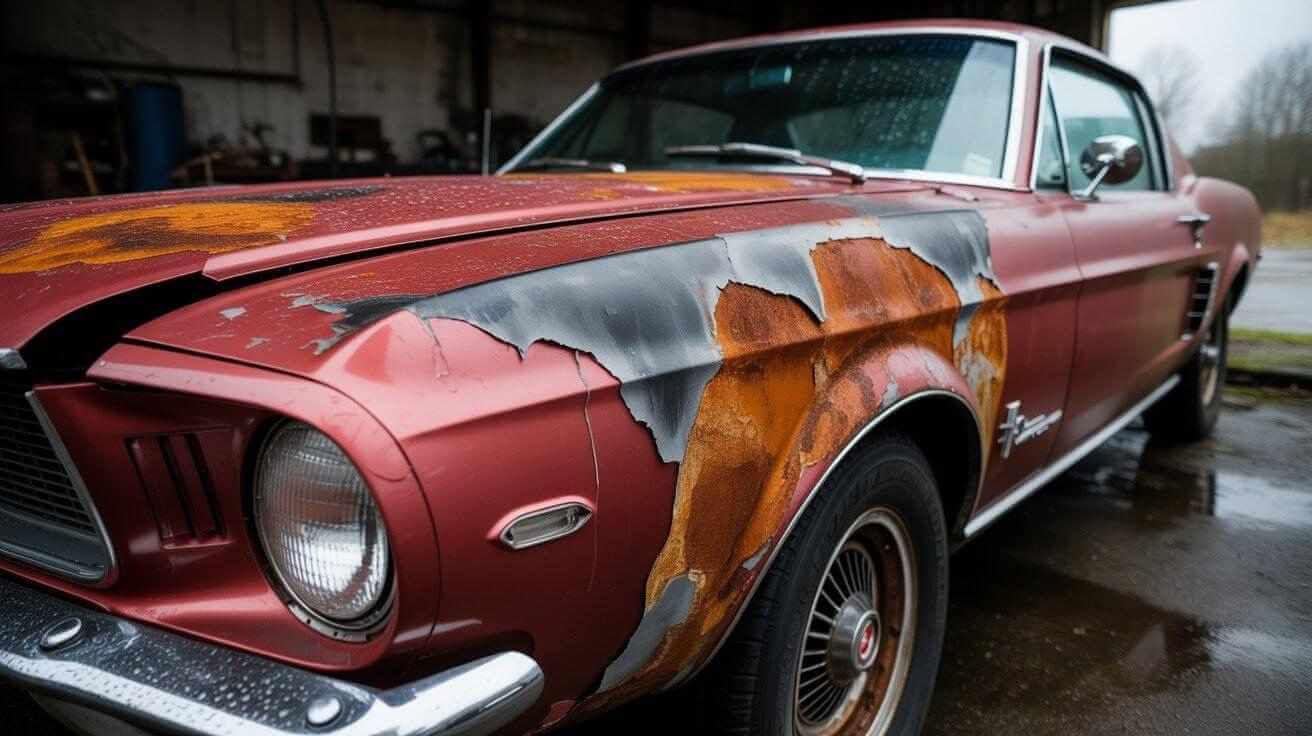
Whether you’re restoring an old fender or touching up a door panel, a quality car spray can primer ensures even coverage and long-term protection against weather and rust.
Types of Spray Can Primers
Acrylic Primer
Acrylic automotive primer spray is known for its quick-drying formula and smooth finish. It sands easily and works great for previously painted car surfaces or small repair spots.
If you need a fast, simple solution for minor touch-ups, acrylic primer is ideal.
Epoxy Primer
An epoxy spray primer for cars offers superior adhesion and rust protection. It’s a favorite for bare metal primer applications, sealing against moisture and corrosion.
Apply two thin coats for a durable, long-lasting foundation that prevents oxidation and improves paint adhesion.
Urethane Primer
Urethane automotive primer spray provides high build and excellent sandability. It fills small imperfections and is perfect for restoration work or metallic paint jobs where smoothness is key.
Compared to acrylic primer, urethane offers greater durability and a more professional surface texture.
Self-Etching Primer
A self-etching automotive primer spray uses mild acid to etch metal surfaces, ensuring maximum adhesion on steel, aluminum, and other bare metals.
It’s especially useful for DIY car restorers working with raw panels, as it prevents flaking and peeling over time.
How to Choose the Right Spray Can Primer
Choosing the best car aerosol primer depends on the surface material and desired finish.
- For bare metal, go with epoxy or self-etching primer for the best corrosion protection.
- For repaired or painted surfaces, acrylic or urethane primer gives excellent results.
- If you’re after showroom-level shine, choose a high-build urethane primer that sands smoothly.
- Environmental conditions also matter — warm, low-humidity settings help the primer cure evenly.
- Trusted brands like Rust-Oleum, Dupli-Color, and Eastwood are widely recommended for DIY automotive primer spray applications.
Application Process for Spray Can Primer
Preparation
Good results begin with good prep. Start by cleaning, sanding, and masking the area. Remove any rust, grease, or wax using a degreaser.
Sand the surface with 180–320 grit sandpaper and wipe clean with a tack cloth. Proper surface prep ensures strong adhesion and a smooth primer layer.
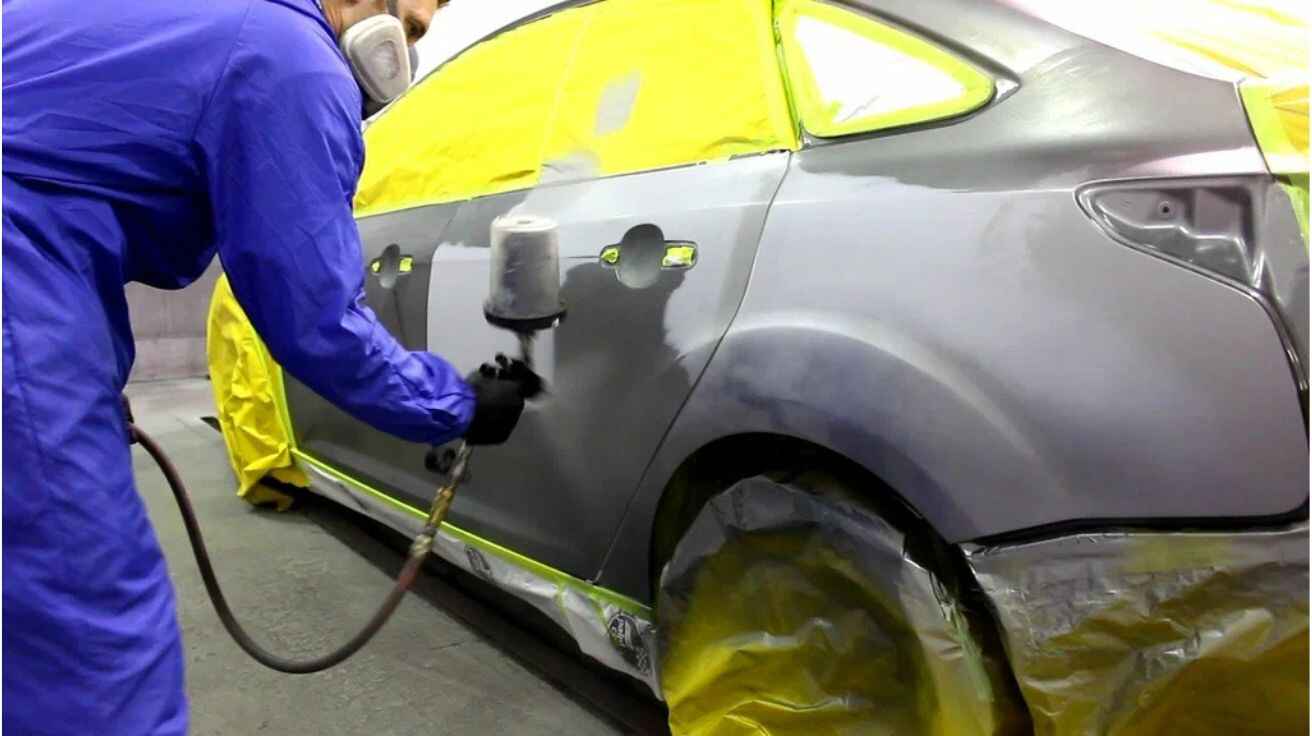
Application Steps
- Shake the spray can primer for at least a minute.
- Hold it about 6–8 inches from the surface.
- Apply light, even coats to avoid drips.
- Allow 5–10 minutes between coats for proper flash time.
- Once dry, lightly sand with 400-grit paper to achieve a smooth finish before applying paint.
Safety Precautions
Wear protective gear, gloves, respirator mask, and goggles. Work in a well-ventilated area to avoid inhaling fumes.
Keep all aerosol primers away from open flames or sparks, as they are highly flammable. Always dispose of empty cans responsibly.
Common Mistakes to Avoid
Even with a quality automotive spray primer, small errors can ruin your results.
Frequent Errors
- Spraying too thickly, causing drips: Thick coats trap solvents and dry unevenly.
- Skipping surface prep: Oils or dirt cause poor adhesion and peeling.
- Using incompatible systems: Mixing lacquer primer with enamel paint can cause bubbling or lifting.
- Rushing drying times: Not waiting between coats leads to trapped moisture or solvent pops.
Prevention Tips
- Apply multiple thin coats for even coverage.
- Test primer on a small area first to check compatibility.
- Follow manufacturer instructions on recoat windows and drying times.
- Sand lightly between coating (400–600 grit) to ensure a glass-smooth base for painting.
By avoiding these mistakes, you’ll achieve professional results that last for years.
Maintenance and Aftercare
After priming, let the surface cure for 24 hours before applying paint. Avoid moisture, dust, or direct sunlight during this time.
Store unused spray can primers upright in a cool, dry place to maintain pressure and shelf life. Regularly inspect primed surfaces for dullness, rust, or flaking — if found, lightly sand and re-prime.
Proper maintenance ensures your automotive primer layer continues to protect the surface, keeping your finish smooth and rust-free.
FAQs
1.Do I need to sand between coats?
Yes, lightly sand with 400–600 grit paper to smooth the surface and improve paint adhesion.
2.Can I use spray can primer on plastic parts?
Yes, but first apply a plastic adhesion promoter so the primer bonds properly.
3.How should I store leftover spray can primer?
Store cans upright in a cool, dry place and wipe the nozzle clean to prevent clogging.